Mind & Soil
Transplant Kit
Transplant Kit
4.9 / 5.0
(101) 101 total reviews
Couldn't load pickup availability
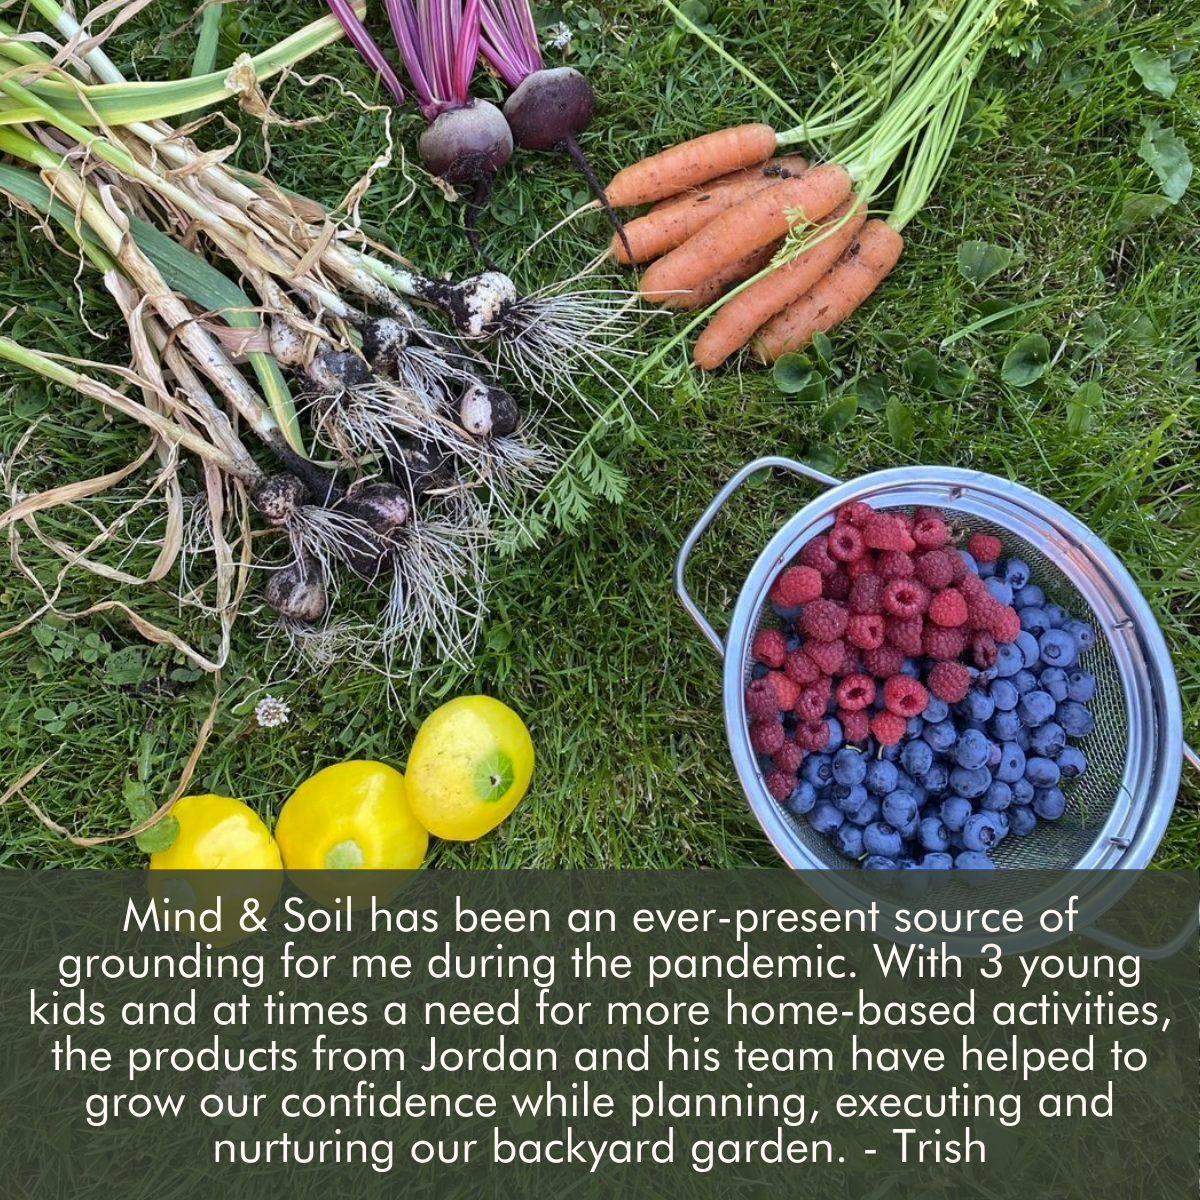
Hoping for your best gardening season yet?
It starts with the soil - and our Transplant Kit will ensure your plant babies have all the nutrients and microbes they need to thrive like never before!
INCLUDED IN TRANSPLANT KIT
- Patio Transplant Kit: 1x Bag of Worm Castings (4L), 1x Bag of 444 Superfood (750g).
- Backyard Transplant Kit: 3x Bag of Worm Castings (4L), 1x Bag of 444 Superfood (750g).
HOW TO USE THE TRANSPLANT KIT
When you are ready to transplant your plants into your garden beds or containers:
- Dig: Dig a hole about 6" deep.
- Worm Castings: Sprinkle 1x handful of worm castings into the hole.
- Superfood: Sprinkle 1x tablespoon of 444 Superfood into the hole.
- Place & Backfill: Place your seedling in to the hole and backfill it with surrounding soil. Gently compact the soil so that it is snug.
- Top Dressing: Sprinkle 1x handful of worm castings and 1x tablespoon of 444 Superfood around the main stem where it enters the soil. Gently massage into the top 1" of soil.
- Water: Generously water to help move the microbes and nutrients into the root zone.
WHEN SHOULD SEEDLINGS BE TRANSPLANTED?
Before transplanting your seedlings into your outdoor garden, you want to make sure the average night-time low is warm enough for them to survive. This can be broken into two categories
- Warm Weather Crops (i.e. Tomatoes, Peppers, Squashes, Cucumbers, etc.): Wait until the average night time low temperature is at least 10C/50F.
- Cool Weather Crops (i.e. Brassicas, Leafy Greens): Wait until the average night time low temperature is at least 8C/46F.
Once the temperatures are warmer than this, you can begin hardening off your seedlings to prepare them for the outdoors.
HOW DO I HARDEN OFF SEEDLINGS FOR TRANSPLANT?
The outdoor garden is significantly more intense and variable than growing indoors under the grow lights. As such, we want to gradually introduce our seedlings to the outdoors to mitigate any transplant shock. This is the process of hardening them off, and can be done over a 10-day process. For the first 5 days, take your plants outside and place them in the sun for 2hrs (Day 1), 4hrs (Day 2), 6hrs (Day3) 8hrs (Day4) and 10hrs (Day5). For days 6-8 ensure the average night time low is warmer than the temperatures above and leave your plants outside over night in their seed cell. Lastly, between day 8-10 transplant the seedlings into the garden - once again ensuring that there are no cold snaps in the forecast for the coming week.
WHEN DO I REAPPLY WORM CASTINGS?
Six weeks after transplanting your seedlings you can apply a top dressing of Worm Castings and 4-4-4 Superfood. To do this, simply sprinkle 1x handful of worm castings and 1x tablespoon of 444 Superfood around the base of each plant. Gently massage it into the top 1" of soil and water thoroughly. This will provide a great bump in nutrients for the plants.
Share